The weather was absolutely beautiful this weekend and when searching the seafood section of the market I came across fresh crabmeat and knew that was what we were having for dinner. Into my recipe box I went and found this recipe that I have not made in years. It was as delicious as I remembered. You can prepare this in under 30 minutes and what a extraordinary meal. It was especially memorable since we had dinner on our porch in front of the fire in February. A lovely evening to remember.
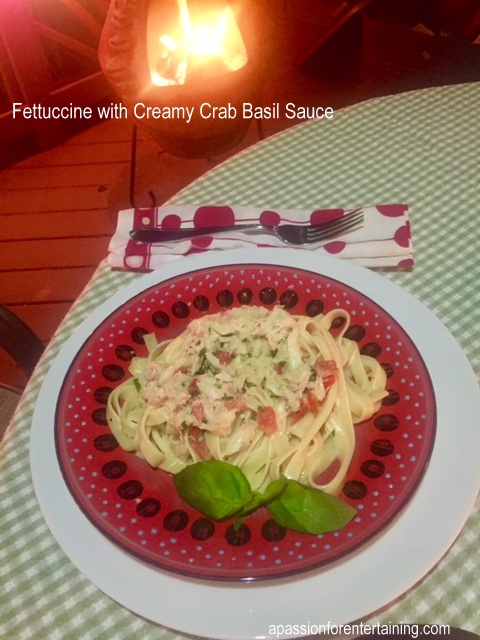
Fettuccine with Creamy Crab Basil Sauce
2017-02-20 06:59:53
Serves 6
Ingredients
- 3 tablespoons butter
- 3 tablespoons olive oil
- 2 tomatoes, seeded and chopped
- 1 clove garlic, minced
- 1/3 cup whipping cream
- 1/3 cup white wine
- 1/2 cup finely chopped fresh basil leaves
- 1/2 cup cooked crabmeat
- salt and pepper
- 1/2 cup grated Parmesan cheese
- 1/4 cup chopped Italian parsley
- 1 lb. fettuccine
Instructions
- Melt butter and oil in a saucepan over medium heat. Add tomatoes and garlic, simmer slowly until the tomatoes soften and begin to break down. Add cream and 1/3 cup white wine. Simmer 10 minutes, stir frequently. thin with additional wine if sauce become too thick. Stir in basil, crabmeat, salt and pepper; simmer 3 minutes. Add 1/2 of the Parmesan cheese and 1/2 of the parsley. Keep sauce warm. Cook pasta as directed on package, toss pasta with sauce. Garnish with reserved cheese, parsley and basil leaves.
https://apassionforentertaining.com/